GENIE Media Libraries
GENIE Media Libraries is where all Media files phisically live (Videos, Pictures, Music, etc).
Think of them as Storage Cabinets full of Media files ready to be used.
They won't show on a Genie kiosk unless they have been added to a Playlists.
Basically, you have to add files to a storage cabinet, and then link/attach them to Playlists.
There are a few types of Libraries and here we will tell you what they are and how to use them.
- Media Library types.
- Viewing the contents of a Library.
- Uploading files to a Library.
- Deleting files from a Library.
Media Library types.
There are four (4) main types of Media Libraries:
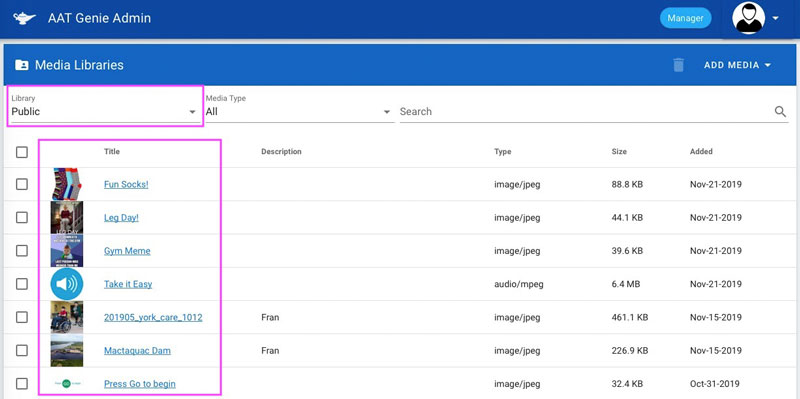
- Public Library - There is only one Public Library and it is only managed by Administrators. This is a Library you cannot add files to but only pick from (attach to Playlists).
- Ambient Library - Every Kiosk has it's own Ambient Library which is managed by the Unit/Kiosk Manager. This is the Library where you upload the files you want attached to the Ambient Playlist. The Ambient Playlist is what you see when a Kiosk is in Ambient mode. You can think of it as the screensaver on your computer, or as a slideshow that is active when nobody is interacting with the Kiosk.
- Community Library - This is also a Kiosk unique Library and is also managed by the Unit/Kiosk Manager. Files added here are attached to the Community Playlists which show up on the Kiosk when someone without a beacon interacts with it. Basically this is content for the whole community to see and play.
- Resident Library - Resident Libraries are unique and their media content is only available to attach to the Resident's Playlists. It is managed mainly by the Family Manager, but can also be contributed to by a Family Member. Family Managers can work with (manage) all of the files in this Library, where as Family Members can only upload the delete their own files only.
Viewing the contents of a Media Library.
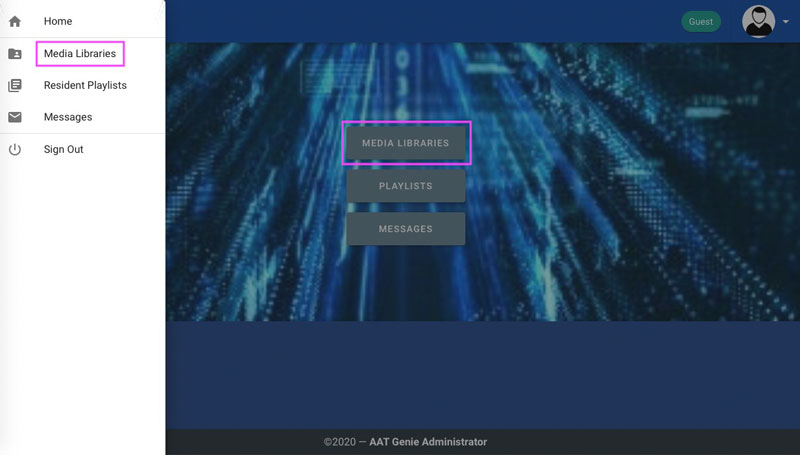
To view the contents of a Media Library, one has to first load the Media Libraries page by clicking on the "Media Libraries" link on the Home page or by selecting it from the Menu as shown in the first example picture below.
Ones on the page, you can do the following:
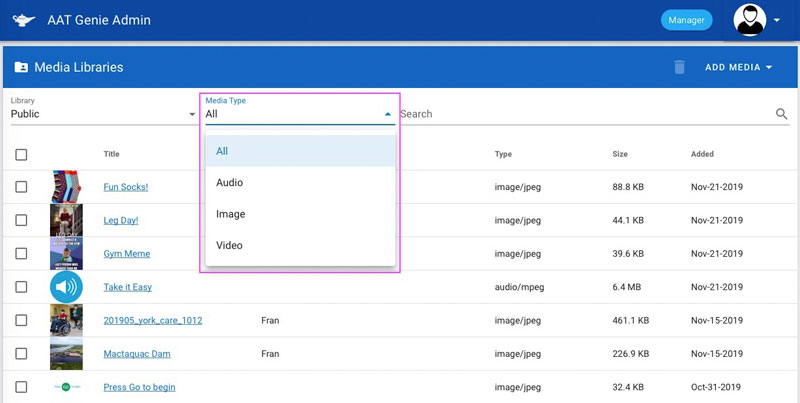
- Select a specific Library to view it's contents.
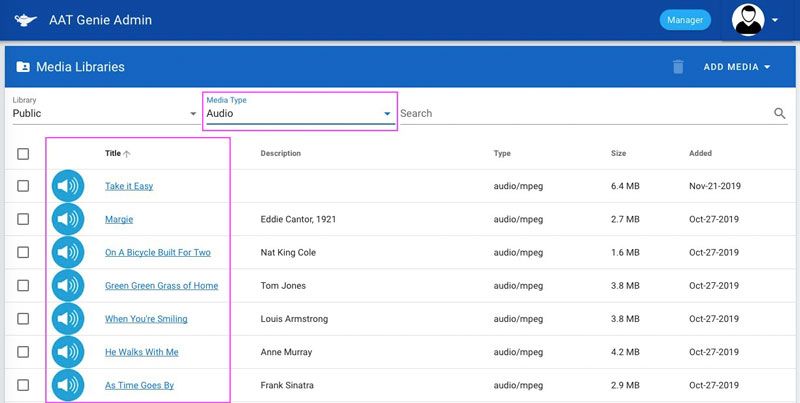
- Show only the files of a specific format/type.
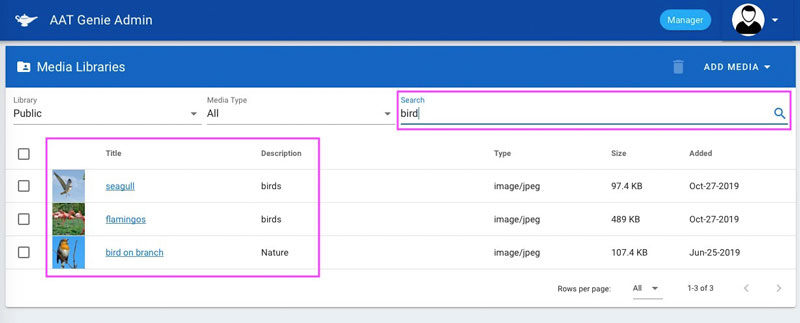
- Use the search box to filter content by keyword.
- Play/View a file by clicking on it's thumbnail.
- View and Edit the properties of a file by clicking on it's name.

Uploading files to a Library.
Follow the steps below to upload files to a Library:
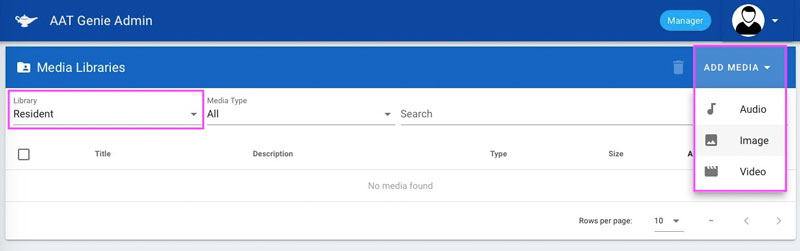
- Select a Library (example:Resident) and click on the "Add Media" button as shown in the first picture below. Choose the type of the files you would like to upload.
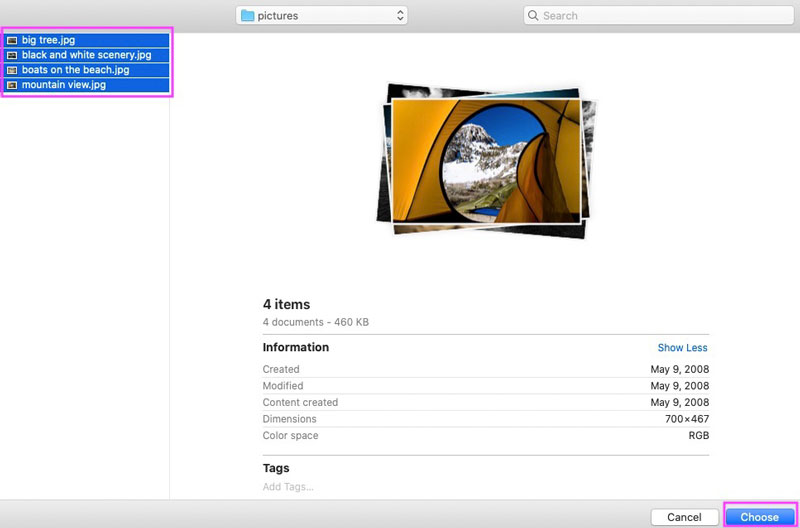
- Navigate to the files you want to add from your computer and click on the choose/upload/select/etc. button.
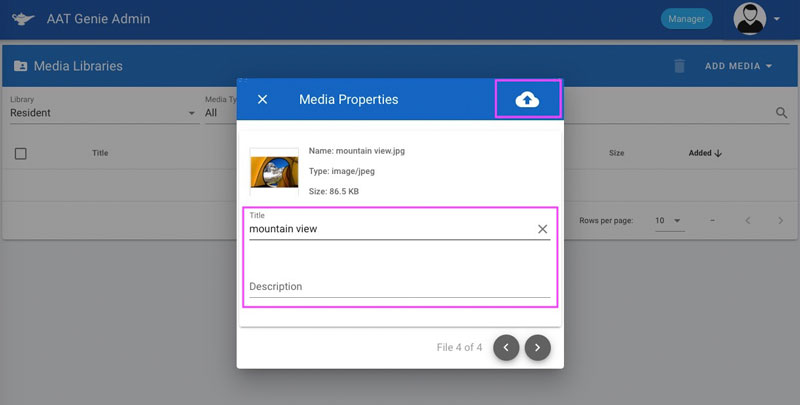
- Before the actual upload begins, you will be asked to change/add a title and a description for each file you are uploading. Ones this is done, click on the cloud/upload icon in the top right corner to start the upload.
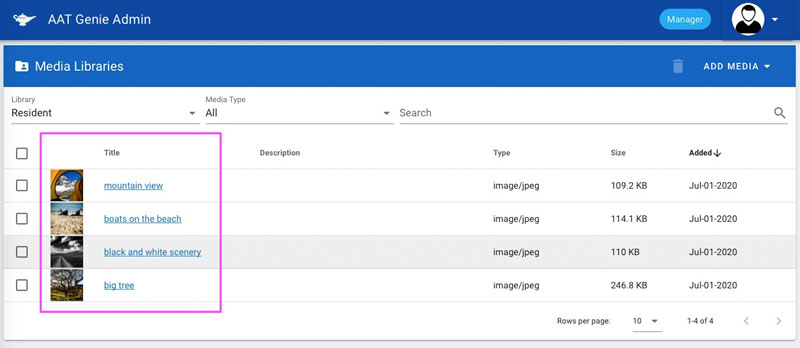
- When the uploading is complete, you will see the files in the list where you can view them and edit their properties.
- Now, you can attach this files to the Resident's Playlists.

Deleting files from a Library.
Please follow the steps below to delete files from a Library:
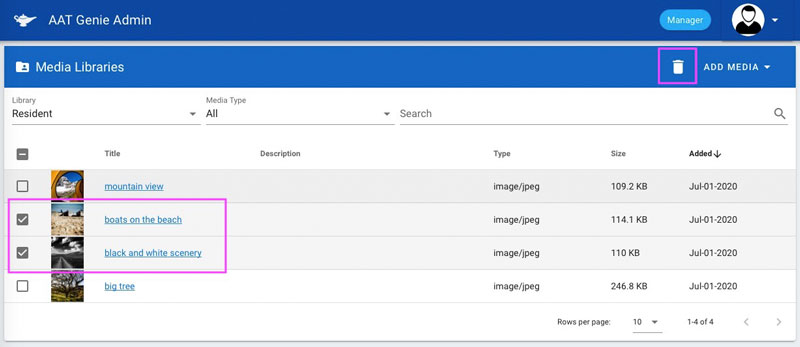
- Select the files you want to delete and click on the "Trash/Delete" icon as shown in the first picture below.
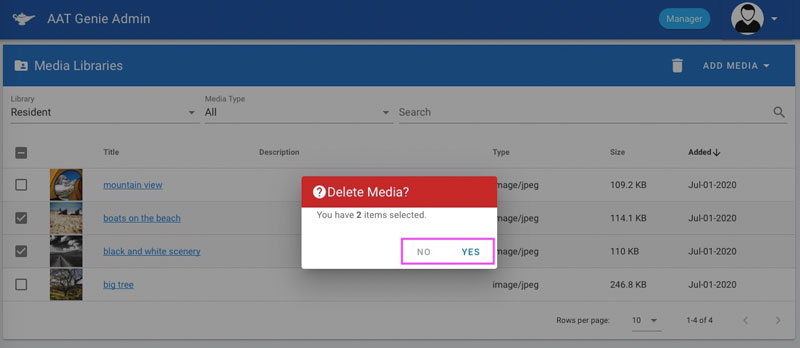
- Confirm you really want to delete this files and it's done.